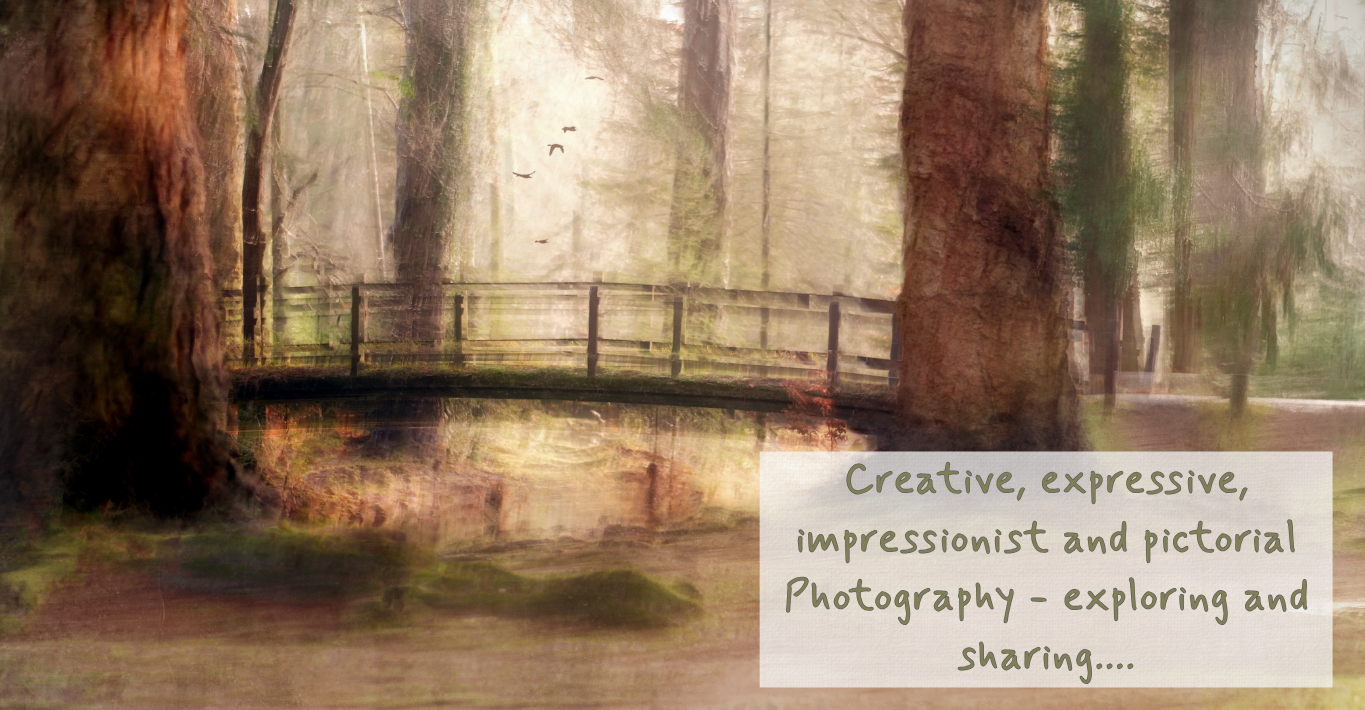
I love creating using camera movement.
I talk a lot about what I do now, but how did I start? So you can start!
To help you get started, I’ve just created this little series.
Part One
Start simple…
I found the easiest place to begin was with a tree, or anything that’s a vertical pan. A yacht mast, even the side of a building will do.
How?
Camera Settings:-
Shutter speed – I use 1 second as my favourite shutter speed for non-moving subjects…or longer.
The effect I get on my images these days is created by very ‘controlled’ subtle movement. That doesn’t mean get tight and rigid, quite the opposite I fact (but more about that another day). Just know that my movements are subtle, gentle and very ‘aware’ of the environment and subject. To move very slowly, you need a long open shutter to give yourself time to do that…
If you want to make faster movements – maybe try a faster shutter 1/15th, 1/8th etc…
You will have to experiment to see what works for you.
So shutter speed – anything between 1/30th and 1 second to start with – I sometimes go longer…
ISO – assuming you are shooting during the day set your ISO down to the lowest it will go because its only job is letting light into the sensor and you are going to have loads of that when you use a long shutter speed in daylight!
Aperture – generally I only use the aperture to control light, sometimes for creative effect but with ICM the softness is already there, and it can get tricky to manage so for now – I’m usually at a f/16 – to control the amount of light coming into the sensor!
Then you’re going to need an ND filter – I use the screw on variable ones, so they are easy and give me options… just twist it around on the end of the lens and it gets darker and lighter!
Vertical Panning – A Tree!
Get set up – get your subject in the frame.
Find a focus on something – I always have the camera in focus… half depress your shutter to lock the focus…
I then bring the lens slightly south of the place I’ve got the focus on so I’ve got space to start my movement before clicking…
When you’re reading start moving and click after you’re in motion – doing that avoids end up with a jerk appearing on the image like a stagger effect revealing where you started moving.
And move upwards…
Now experiment…
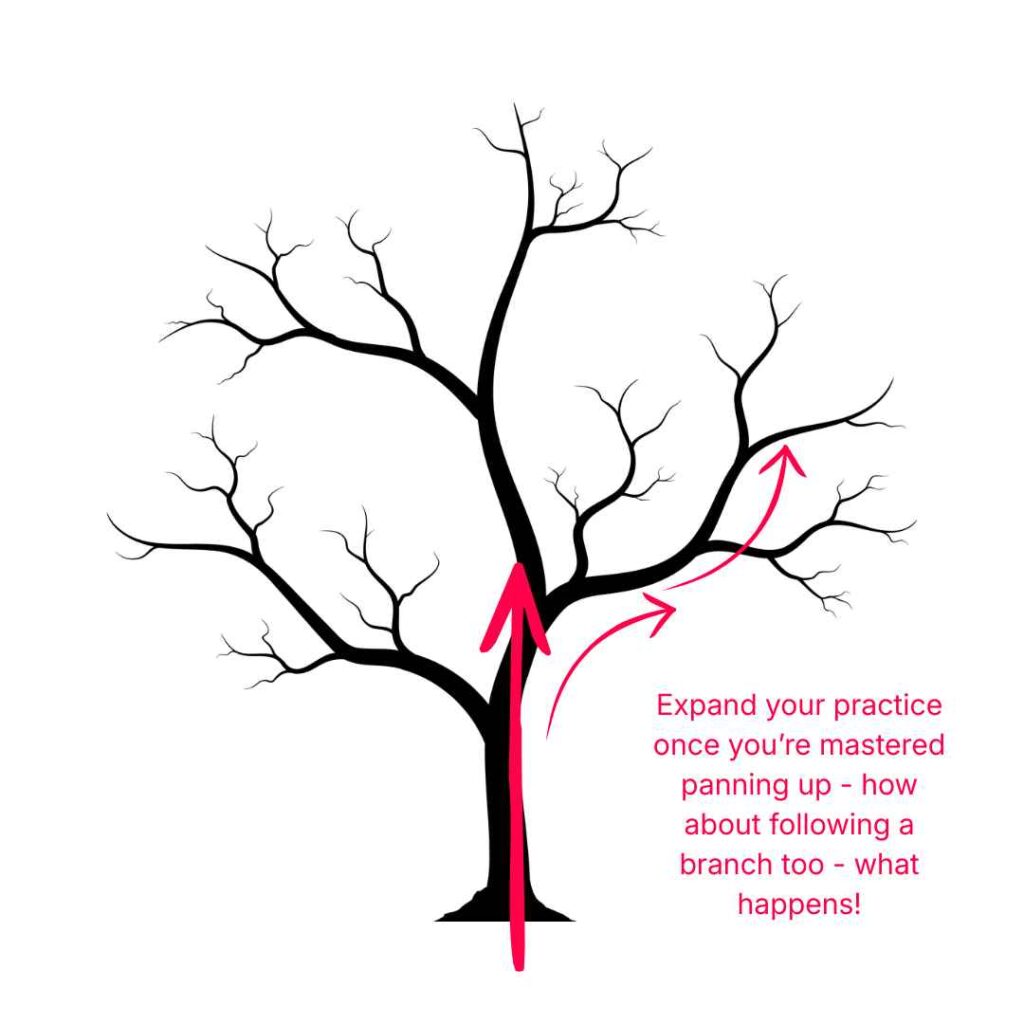
Here are a few tips…
Don’t be tempted to keep changing the camera settings – changing what you DO during the open shutter is what gets the effect… If you don’t get to synchronise your body movement with a particular open shutter time or focal length it takes even longer to ‘get it’ it would be a little like trying to learn to drive but always driving a different car at each lesson – the constant variations just make it even more difficult to learn the foundations…
Experiment, be curious and be very aware of what you’re doing – say to yourself – this time I’m going to try that movement with my arms a little more tense, a little more relaxed, I’m going to move then pause…
How about panning from the top and moving down instead of up?
Take some time…
Do a little each day…
Practice on any vertical line you see – the edge of a door in the house, the TV, the fireplace… anything…
It’s not ‘drilling’ yourself just making endless repeated movements that embeds it.
It’s conscious, aware doing of it – what you’re doing and what is happening. If I do this, I get that, oh that was interesting, what happens if…
Troubleshooting
One of the main problems when you begin is a total white out. It’s just a white, hazy blur…
Why? You’re probably going too fast!
The camera’s sensor needs TIME to pick up information. If you move so fast it can’t do that, that’s when you get the white out or haziness…
SLOW down.
If you can’t because it feels like there’s not enough time – make more time – make the shutter speed slower! It should be serving you, not the other way around…
